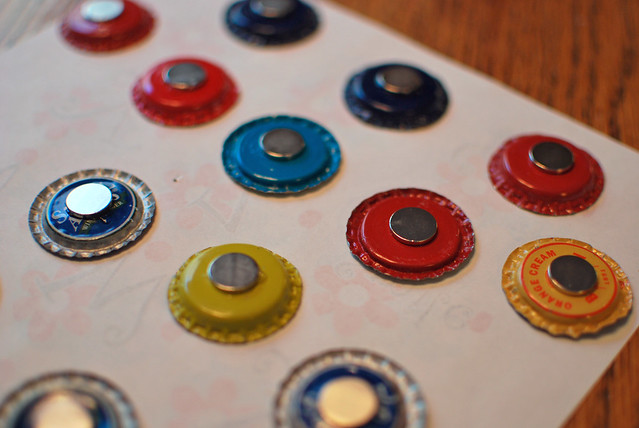
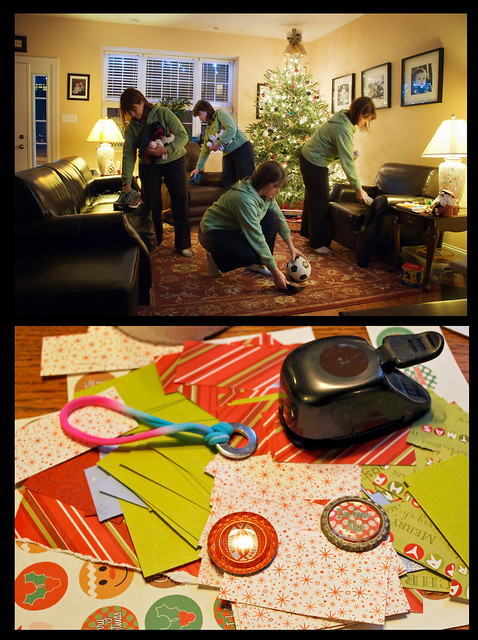
This little project about did me in. I spent way too much time and effort on it, but that is all behind me now. Harper wanted to give the girls in her Daisy Scout Troop a Christmas gift. I wanted it to be something that we could do together.
I had one of those lightbulb moments and thought bottlecap necklaces would be perfect. After all we have a gazillion bottle caps that we have collected over the years. Sounds easy enough, right? Well, I discovered very quickly that the nice looking ones that you see for sale everywhere are actually using unused bottle caps. The edges bow out making it easier to flatten them.
It took me awhile, but I finally figured out how to make the used bottle caps work.
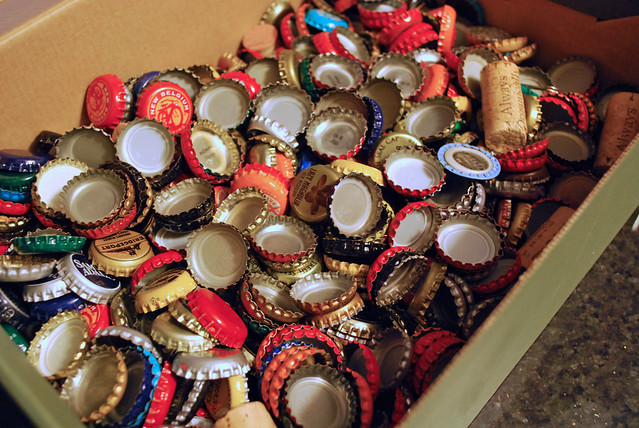
First I picked through our box of bottle caps to find plain or non-alcohol related caps, since these are going to 6-7 year old girls.
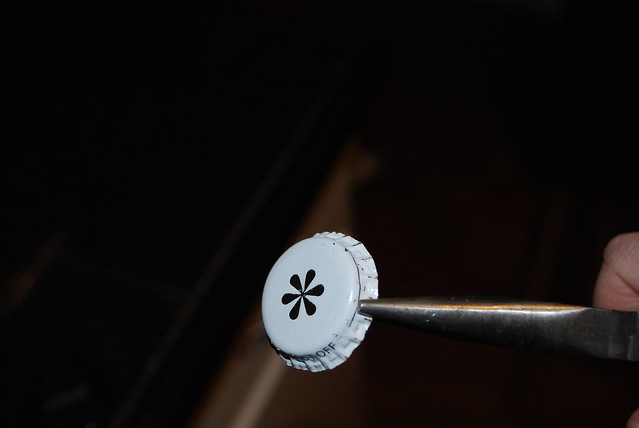
Ok, now let's remove that yucky liner.
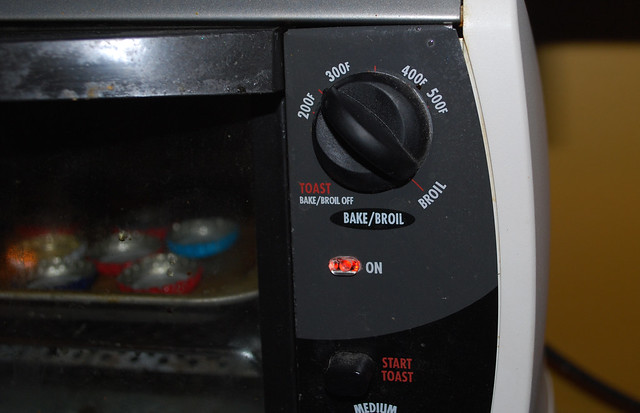
I set my toaster oven to 250 degrees. A regular oven would work too. I just thought the toaster oven was easier since I was working in small batches. Once the oven is preheated place about 6-8 bottle caps in the oven for about 5 minutes. You have to work pretty quickly because if they stay in too long the liner is hard to remove. Some of my liners actually started curling up, which made it really easy to remove them. Some were harder.
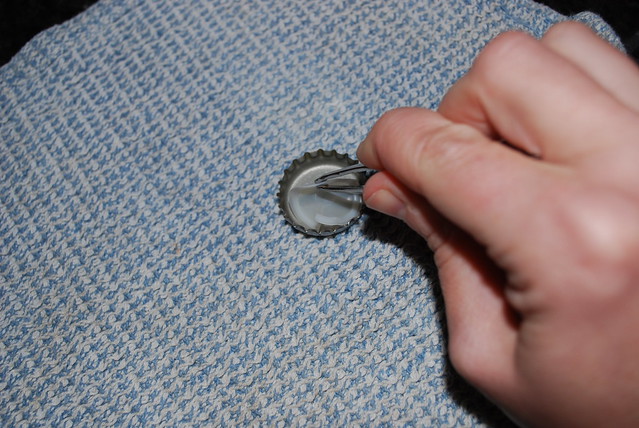
Remove from the oven. I used tweezers to grab them since they were hot. You should be able to just peel the liner off. If it doesn't come up easily, you can place it back in the oven for a few more minutes.
I washed mine after this step. Sorry no photo.
Then I took the clean bottle cap and started turning out the sides with needle nose pliers. I just worked my way around once pulling the edges out. Then worked my way around again really turning the edges under. I tried my hardest to make it look like an unused bottle cap.
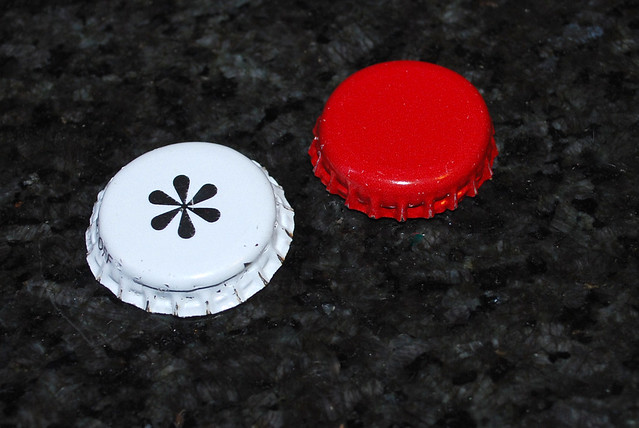
In the photo below you can see the cap on the right is an opened cap. The one on the left is the one I have worked on.
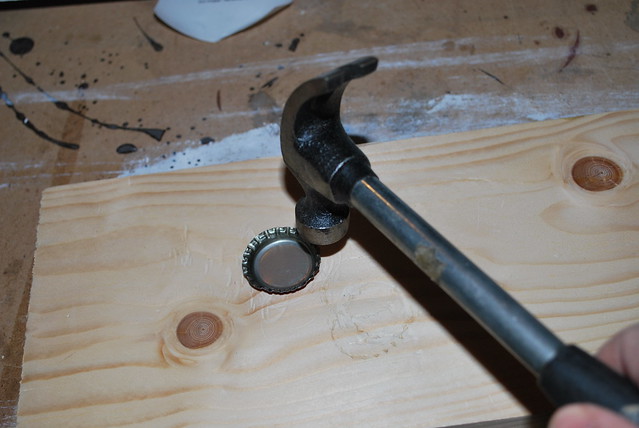
Now it is time to take out some frustrations. Lay the cap as shown in the photo below and hit it with the hammer all around the edges turning the bottle cap as you go. I only hit my finger once.
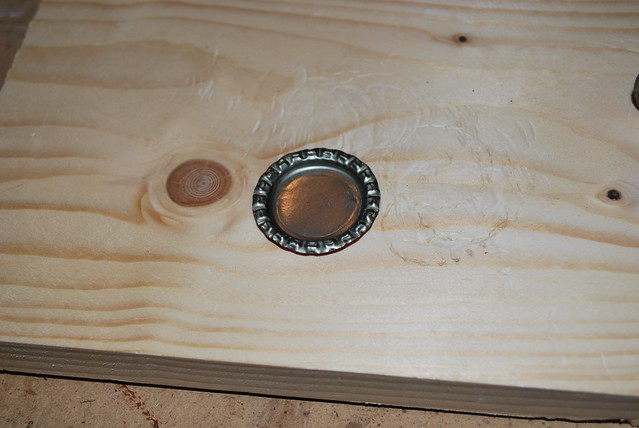
Keep pounding.
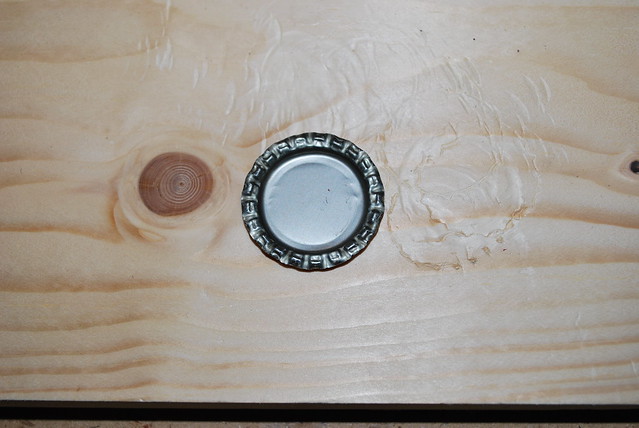
Ok, that looks good. Now you are ready for the fun part.
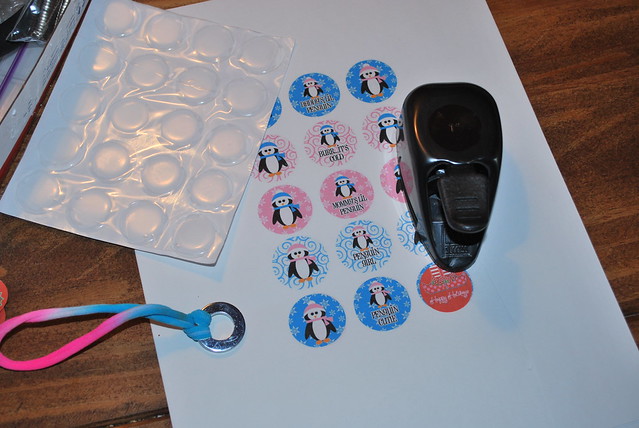
Choose what images you want for your necklaces. Harper picked out some on Etsy, but you could create your own or just use scrap paper. Your options are endless. I used a 1" circle punch to cut out the images to make them look more uniform. I also purchased some clear round stickers to place on the images to give them a finished look. I bought mine
here.
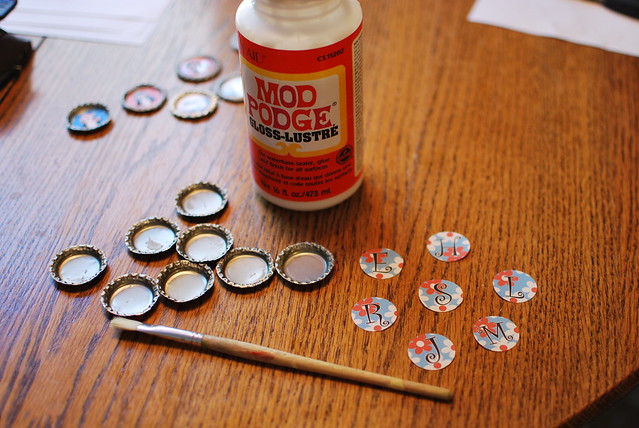
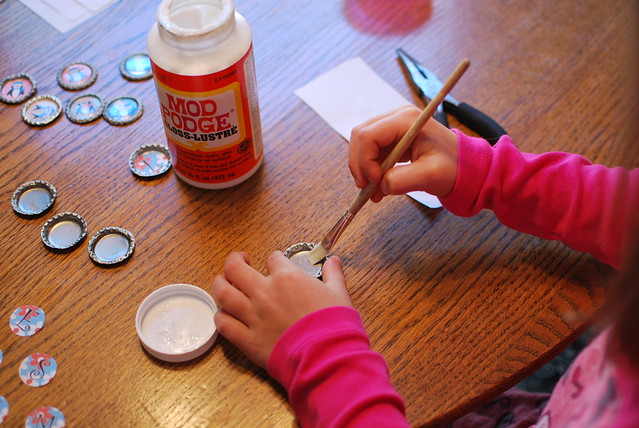
Once you have your images selected and cut out, use mod podge to glue the paper to the bottle cap.
This is where Harper finally got to help.
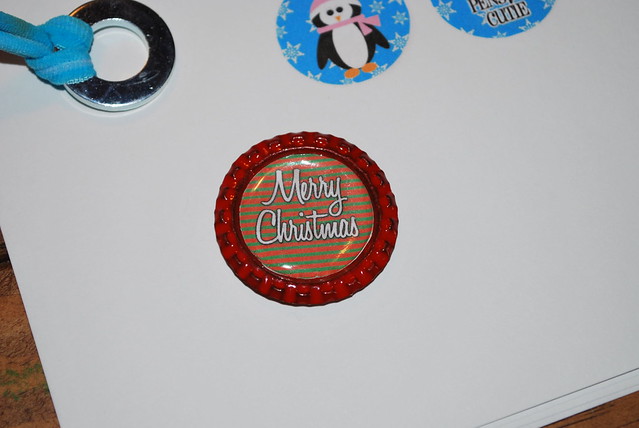
Once the glue has dried, you can place a clear epoxy sticker over the image in the bottle cap.
I spray painted the bottle cap below, which I thought looked cool. Harper liked the look of the unpainted caps better so we went that direction instead. You can see that the epoxy sticker makes it nice and shiny and gives it a finished look.
Now it's time to glue your magnets to the back of the bottle cap. I used E600 glue, which is really strong but it stinks. You need ventilation for this step. If there is a next time, I will probably explore different glue options. Magnets can also be found
here.
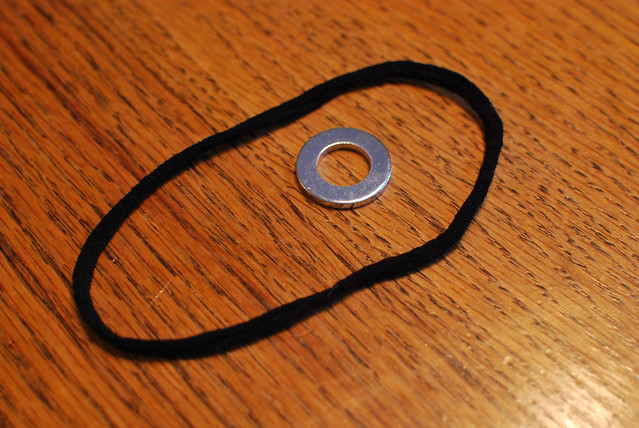
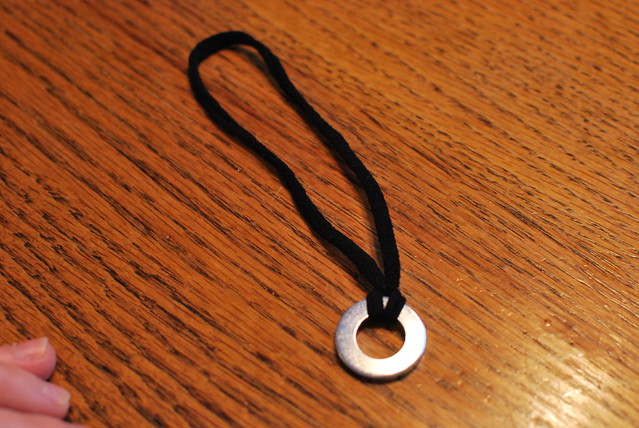
It is time to assemble the necklace. I used a 12 mm washer and some stretch nylon.
You could also use ribbon or t-shirt scraps for the necklace though. The 1/2 " magnet that I used
fit into the middle of the washer perfectly.
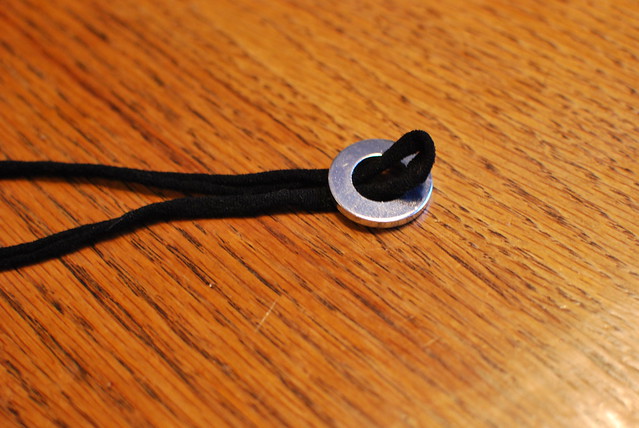
Take your necklace like so.
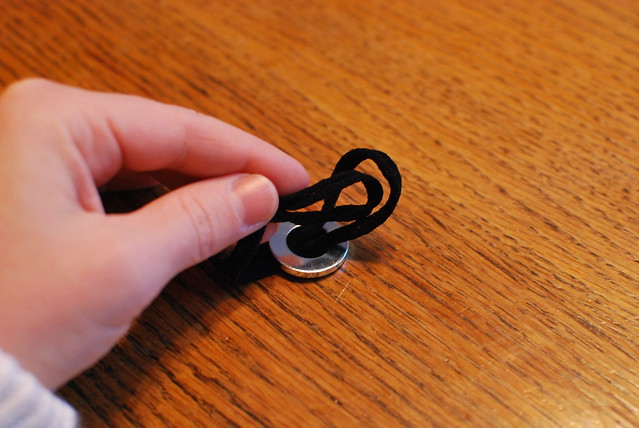
Then take the opposite end and feed it through the loop.
Pull it tight. Ta-da.
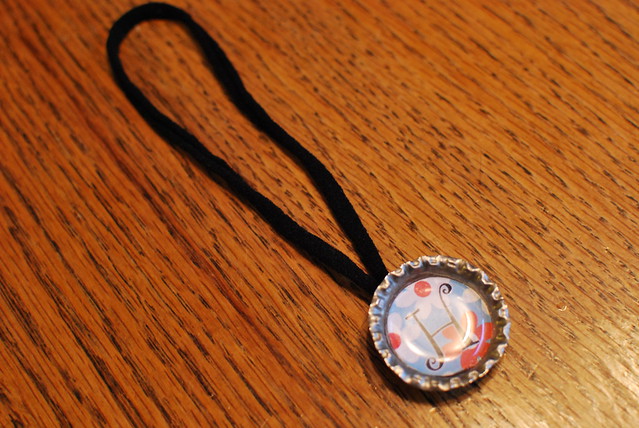
Now place your magnet bottlecap on the necklace and enjoy.
I know there are tons of tutorials out there, but I could not find a good one that used opened bottle caps. So I thought I would share my process.
If you make any necklaces, please add it to my flickr group.


