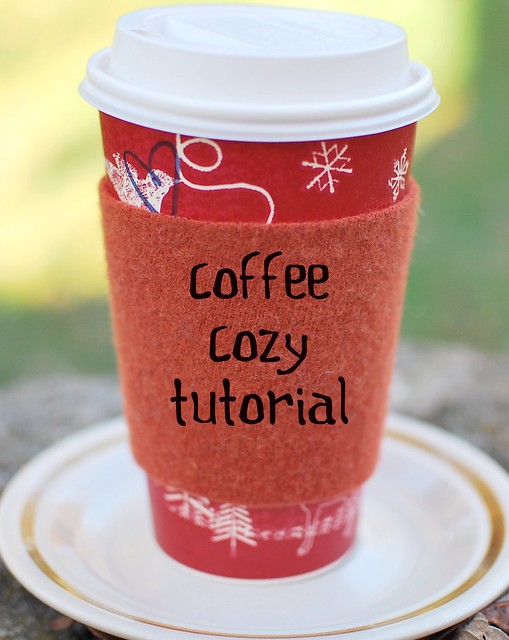
It's hard to believe that I have never done a real tutorial on how I make my coffee cozies. I did post these instructions last year, but they were the instructions that I included in my DIY kit. They don't really go into detail about the actual cozies. So I thought it was time to share some of my tips and tricks. Since I have made 100's and 100's of these cozies, I have learned a couple of things along the way.

The first thing you are going to need is a wool sweater. You can read about
After the sweater has been felted, you can get to work on your coffee cozy. There are a couple of options depending on the size and thickness of your sweater. If you are lucky you can just use a portion of the sleeve and do no machine sewing at all. You should be able to look at the felted sweater and tell if it is going to work. If the cuff is ribbed, then more than likely you will have enough stretch. If the sweater is smaller or you want to use the sleeves for something else, then follow the directions below.
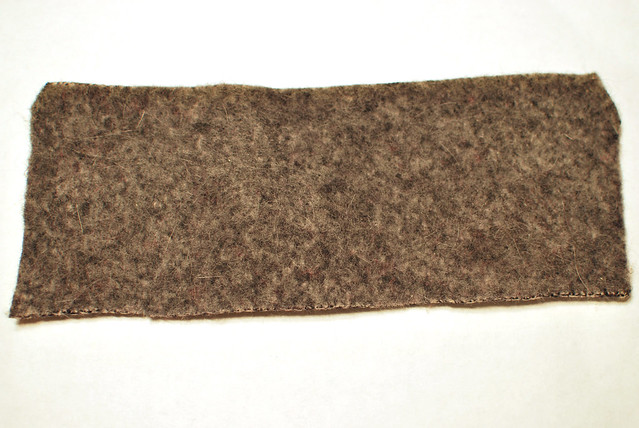
I would suggest making a pattern, especially if your are going to be making several cozies. Mine is just made of craft felt. It's lovely, huh? This speeds up the process. It also allows you to place the pattern on the sweater to determine where you want to cut.
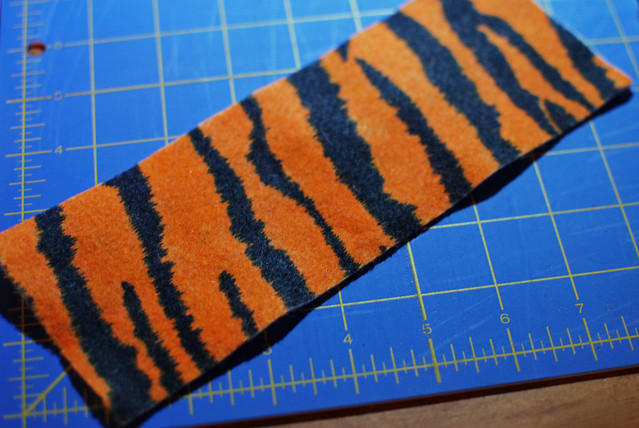
My pattern piece is 3.5" x 9"
Once you have cut your sweater pieces, you will want to sew the ends together to form the cozy. I always cut my pieces a little larger than they need to be (which is the size of my pattern) so that I have a little wiggle room. The stretch of the sweaters varies greatly so this ensures that I have enough material to work with. It only takes a minute to make the cozy smaller if it is too large.
I use a universal needle for medium to heavyweight material. I also set the tension to 5 or 6 on my machine. You may have to experiment on some scrap sweater pieces before you start to make any adjustments.
When I start to sew the cozy, I backstitch then sew forward a little bit and backstitch again. I also do this when I come to the end. It is not necessary, but you would could stitch the seam twice for added durability.
It's hard to see in this photo, but the arrow points to my seam.
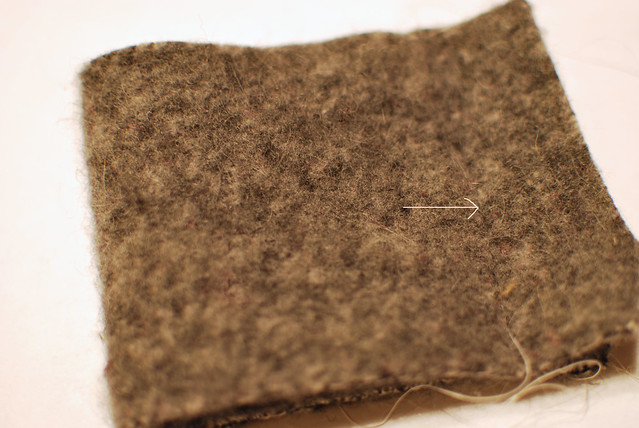
Once the cozy is sewn, I trim up the edges. Start by trimming fairly close to the stitched edge. Then check to make sure the top and bottom edges are even.
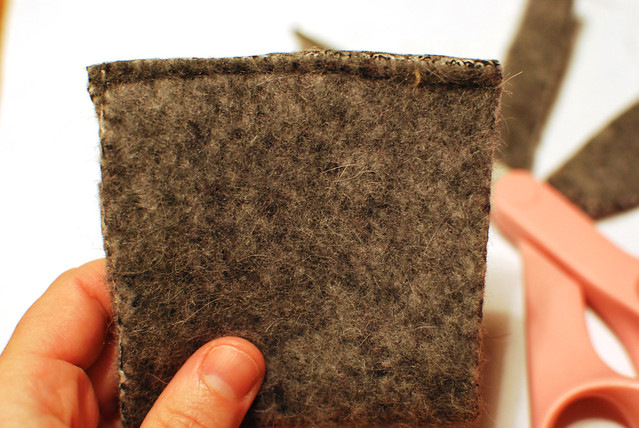
Once it is all even, turn it right side out.
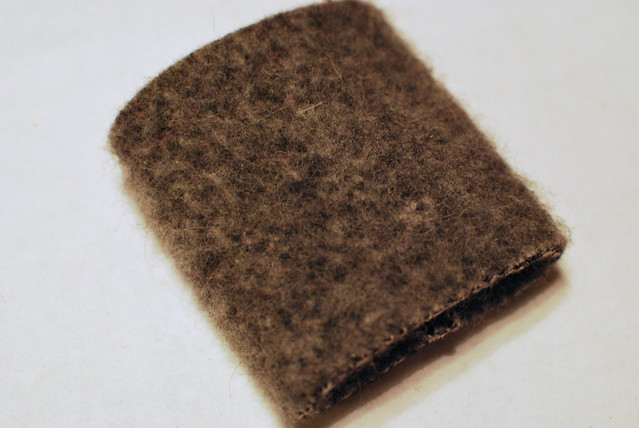
You are done. Now embellish your cozy with a cute design. Next week I will give some tips and tricks about how I applique my cozies.

These are a great beginner project as well as a perfect Holiday gift. (Yes, I am already thinking about the holidays). I am still in the process of going through my stash so I should have some cozies in the shop soon. Hopefully within the next couple of weeks. I also have several owls that will be going up as well. I might also have some sweater remnants for those of you that don't want to go searching for sweaters. Let me know if anyone is interested in a kit. I can make up some of those for the shop too.
If you make any cozies, please add a photo to my
flickr group.


