Pages

Thursday, May 31, 2012

Weekend Trip-Asheville

Mitch and I had an adult only weekend getaway to Asheville, NC last weekend.  We haven't been away in several years, so it was nice to have some time with just the two of us.
DSC_4136


Asheville has several breweries.
DSC_4141
There are tons of cute shops.
DSC_4158
We stayed right downtown, so we were able to walk to restaurants and shops.  There were several vegan and vegetarian friendly restaurants, which was very nice for me.
DSC_4161 DSC_4167

 
DSC_4184

There was a drum circle in one of the parks on Friday night.  It was fun to watch all of the different people there to participate. 
DSC_4195

DSC_4196

DSC_4201

If you haven't visited Asheville before, I highly recommend it.

Wednesday, May 30, 2012

Featured on Remodelaholic


I am so honored that our kitchen remodel is featured today at Remodelaholic.  Be sure to check it out.

You can find it here: Custom Cabinets Kitchen Island

Wednesday, May 23, 2012

Moving On

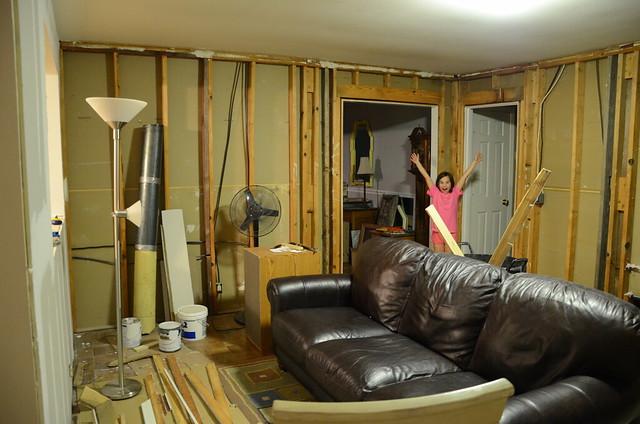
You might remember that not too long ago the room right next to our kitchen looked like this.
DSC_3339

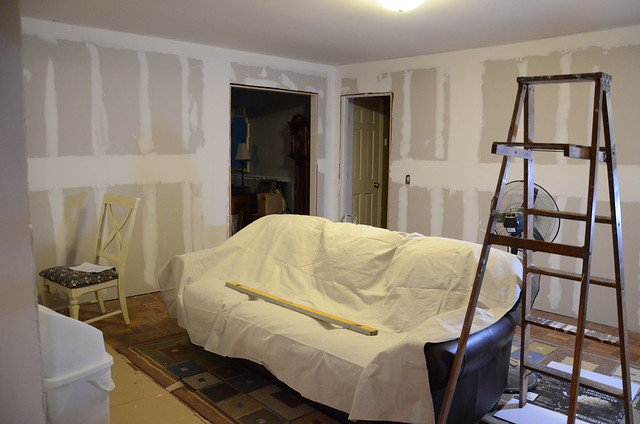
While we had the contractor working on the kitchen, we had him drywall the room for us.  It was previously nasty fake wood paneling.
DSC_3349

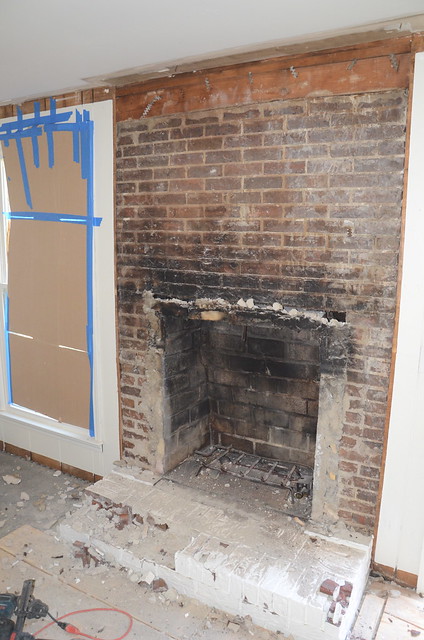
When we removed all the molding, we discovered our fireplace was pulling away from the wall. 
DSC_3353

So we hired a mason to remove the old facade and build a new one.

DSC_3429
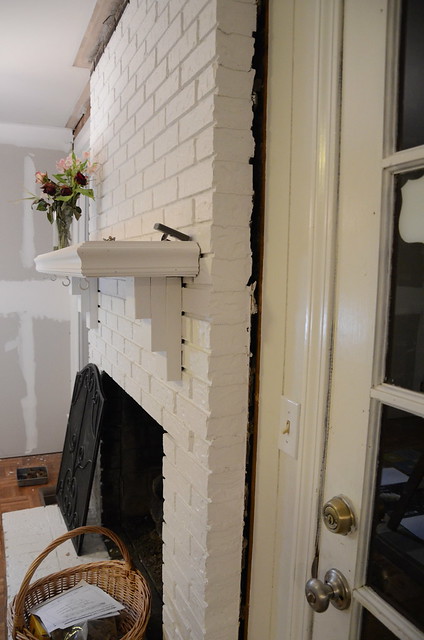
This is how the fireplace looked when he was finished.
DSC_3437
Now that we are officially finished with the kitchen we have started work on this room.  Mitch had to pull up all the sub flooring around the back door and replace it.  Before we had the fireplace repaired we had a water leak that caused quite a bit of damage around the door.
DSC_4007
Look how rotten the wood was behind the wall. Yikes.
DSC_4019

Here it is after he replaced the studs.

DSC_4022

After he was finished with the door, he framed out the fireplace. He is going to build a surround and probably drywall the top portion.

DSC_4086

Then he leveled out the floor.  The floor was very uneven, so it was definitely a process.
DSC_4088

Then we spent Sunday afternoon laying down the floor.
DSC_4119
It's starting to look like a real room now.
DSC_4116

The kids have enjoyed "skating" around the floor on their socks. It is also So nice to have the floor flow from the kitchen into this room.
DSC_4115

We are still trying to decide whether we are going to replace the back door.  It has a doggie door in the bottom middle panel, which is very nice for Bailey.  We love the full glass door, but all the doors we have seen now have a full glass panel instead of individual panels.  So we would not be able to put a doggie door in.  We have really been trying to make this door work, so we will see.  Now Mitch has to finish the fireplace.  We need to paint the ceiling and walls.  Then put the molding back up.  Once all of that is finished we need to buy or build a table.  The plan is to have a table close to where the couch is now.  Then have a little sitting area by the fireplace.  I am so ready to have my house put back together again. 

Tuesday, May 22, 2012

Reusable Mason Jar To Go Cup Tutorial

Reusable Mason Jar To Go Cup

I saw these on etsy a couple of weeks ago and couldn't stop thinking about them.  So I knew that I had to make some for myself.  I have such a weakness for mason jars.

Do you want to make your own?

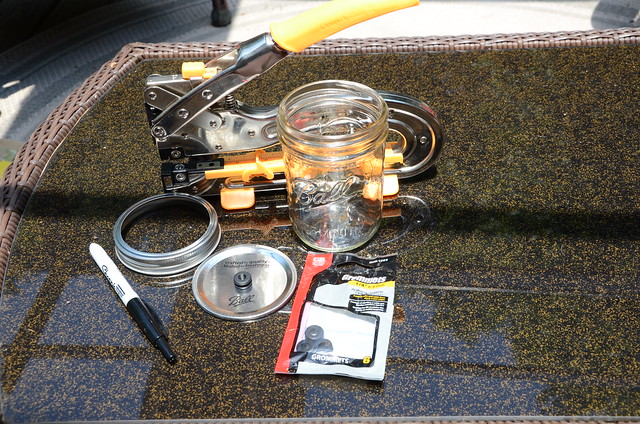
Here's what you will need:

Mason Jar (I used a wide mouth pint jar)
Sharpie or pen
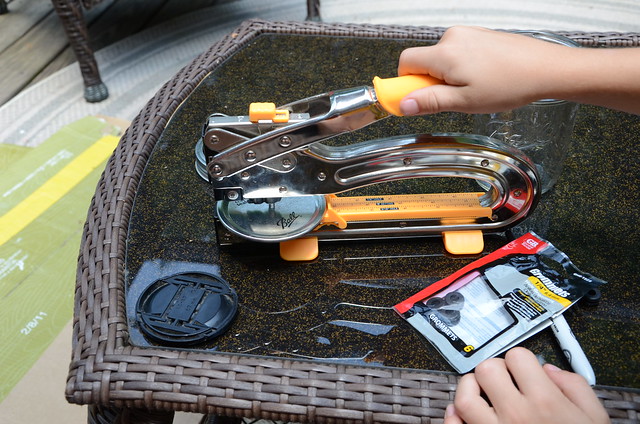
Hole Punch (The one I have is for scrapbooking, but it cuts through metal and leather.  I think it is called a crop-a-dile.  I use it all the time for various things.)
1/4" Rubber Grommets (I bought mine here) I am sure you can find them at the hardware store too.

DSC_4090
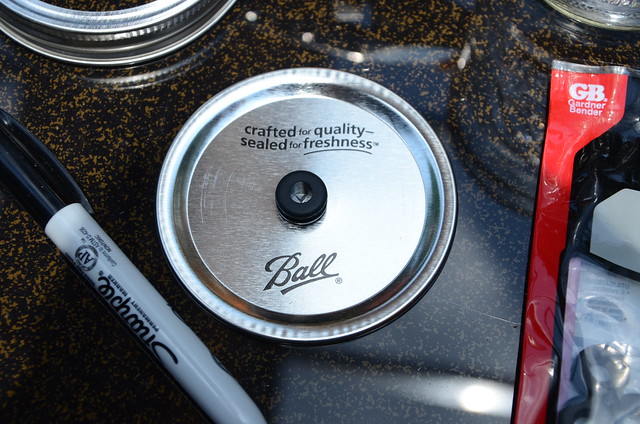
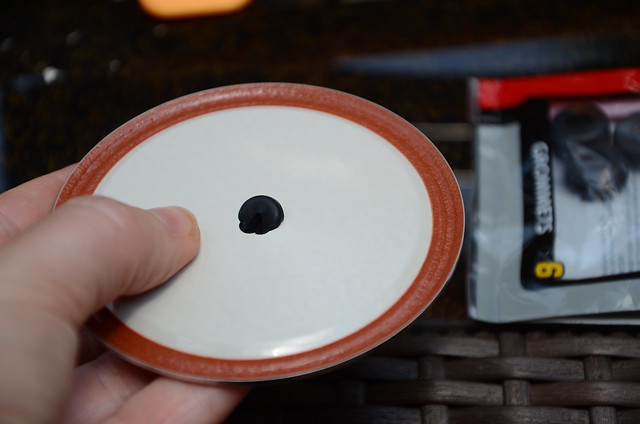
Take one of the grommets and place it where you want it to go on the top.  I started off in the middle, but for the rest of the ones that I did I made the hole closer to one side.
DSC_4092

Then mark the center with your pen.
DSC_4091
This is where you want to punch your hole.  You could also use a drill to make your hole, but I am a little afraid of power tools.
DSC_4093

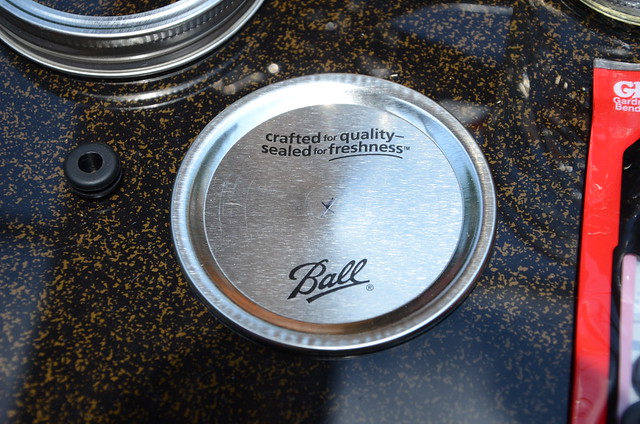
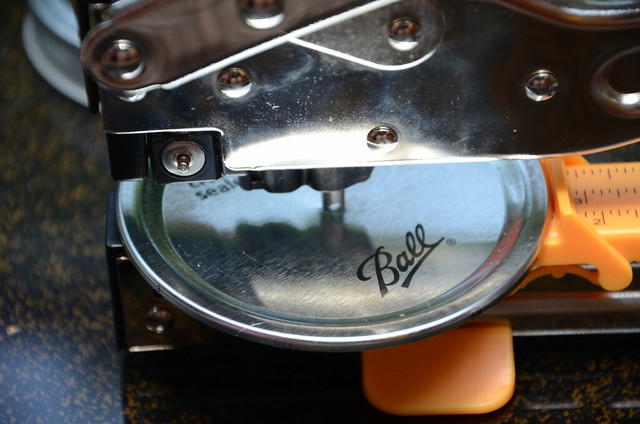
Now punch a hole in the top where you marked.
DSC_4094

My hole was not large enough so I kept punching around the original hole to enlarge the hole to the right size.
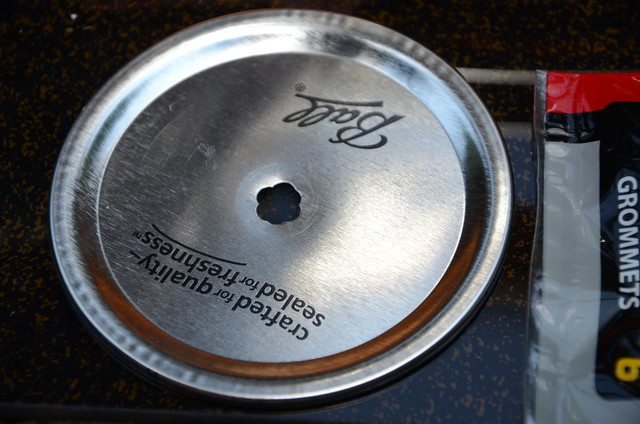
DSC_4096

It doesn't have to be exact.  It just needs to be large enough so that the grommet can be squeezed through that hole.  You also don't want the hole too big or the grommet will move around too much.
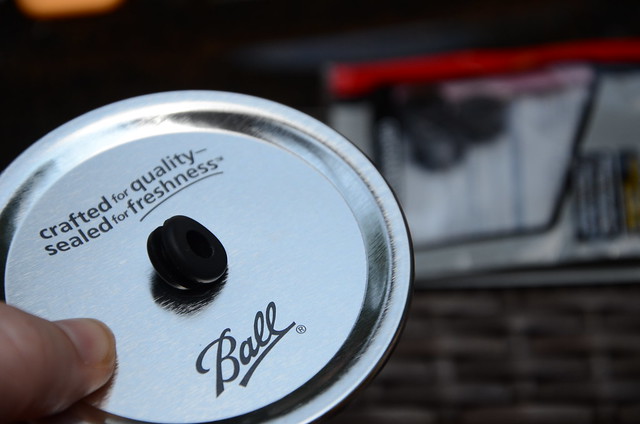
DSC_4097
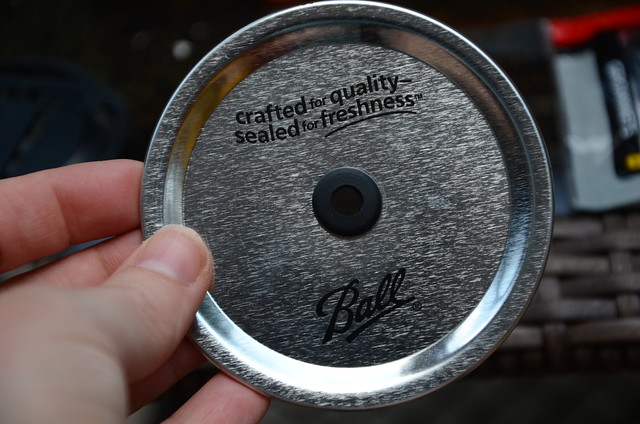
Now take the grommet and work it into the hole.  Be careful with the hole in the middle.  The edges are sharp.
DSC_4098

Keep working it until you get it all the way through.
DSC_4102

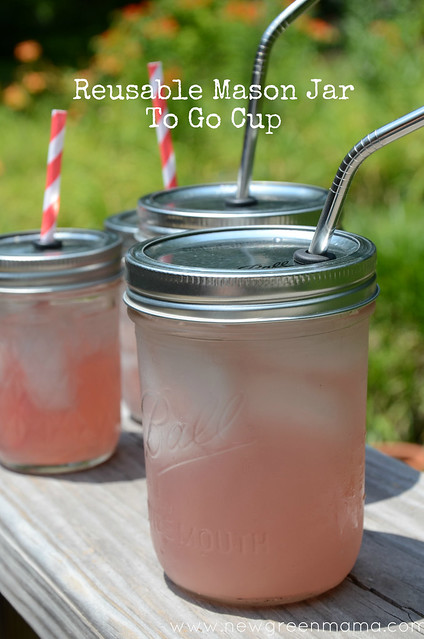
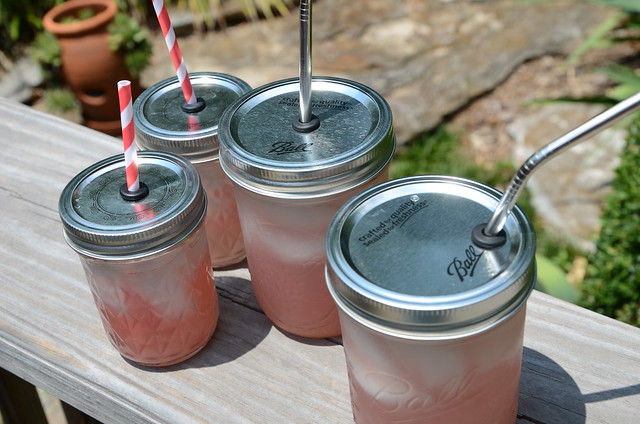
Stick a straw through the hole and put the top on the jar. You are ready to enjoy a nice cold beverage.

DSC_4109

You can see from this photo that I placed the hole more towards the edge on the one in the bottom right hand corner.  I actually preferred drinking from this one.  I also made some smaller ones for the kids, but they liked drinking from the larger ones.  The small ones are so cute though.  I have stainless steel straws that we use for smoothies that worked perfectly.  The striped straws are biodegradable paper ones found here
Reusable Mason Jar To Go Cup


  http://salttree.blogspot.com/

Monday, May 21, 2012

Weekend Fun


Here are some snapshots from our weekend.

We played and watched some baseball...

DSC_4055

played with cousins...
DSC_4053

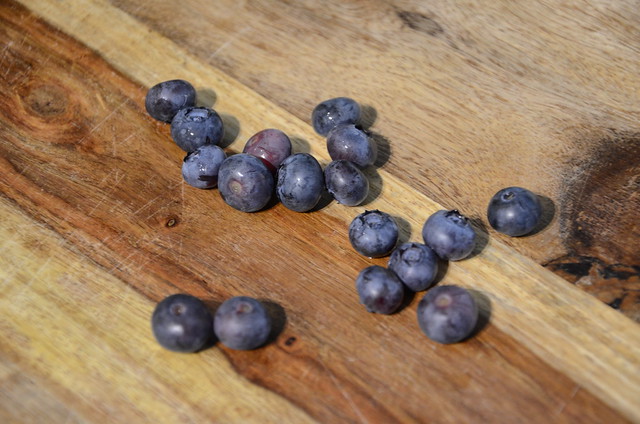
picked some blueberries from the yard....
DSC_4047
and did some Taekwondo.  Harper was very excited that she got to spar one of her isntructors.
DSC_4077

We also picked up our first CSA share of the season, but I forgot to take a photo.  This week we got lettuce, kale, strawberries, squash, sweet potoatoes, and green onions.  Mitch has been working like crazy on the living/dining room, so I will have photos later in the week of our progress. 

Tuesday, May 15, 2012

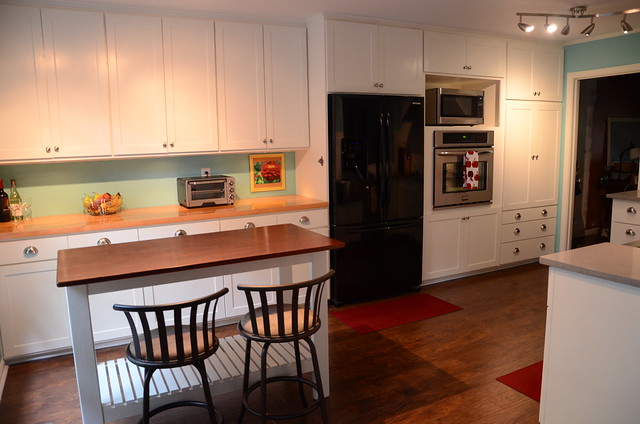
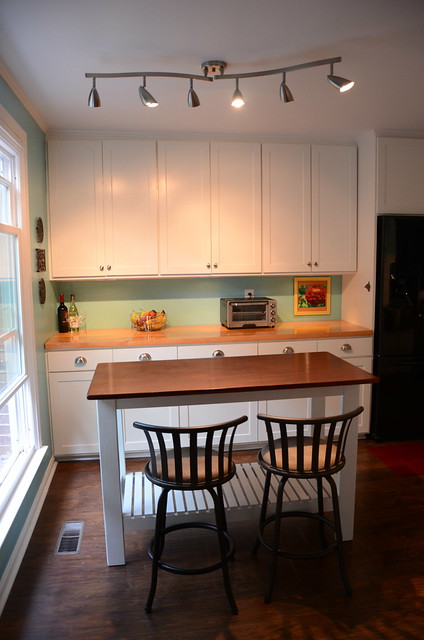
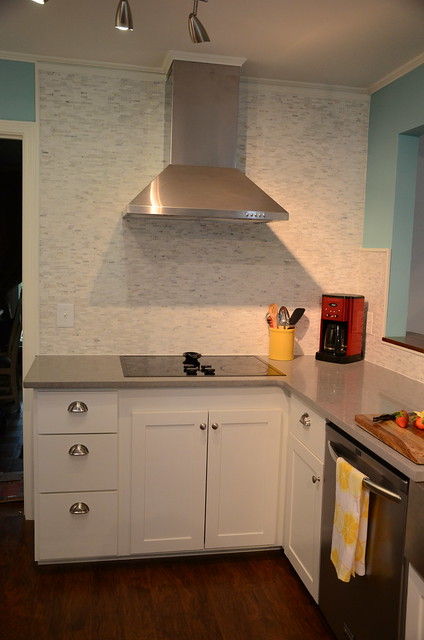
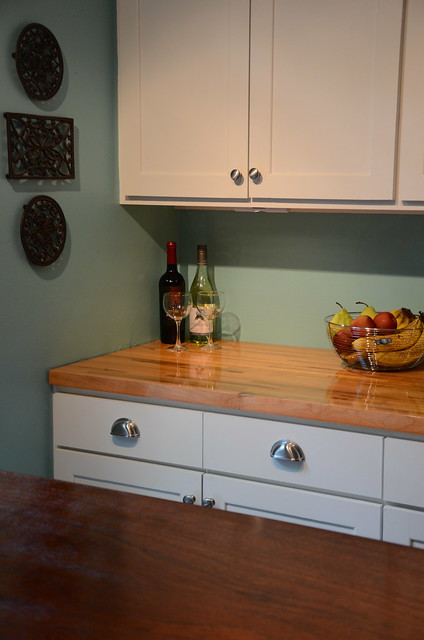
Kitchen Reveal Finally!!!

I really never thought this day would come, but I can finally say we are finished with the kitchen.  It has been a long journey (8 months) and we still have lots of work to do in the rest of the house.  But let's focus on what is finished, ok?

I know my before photos are not the best, but my wide angle lens was broken at the time.  Plus it was so dark in there it was hard to get a decent shot.  I hardly even remember my kitchen looking like this.  Can't say I miss it.

Before:
kitchen before

This is what I get to enjoy now.

After:
DSC_4029

DSC_4024

DSC_4032 


DSC_4025

DSC_4026

 DSC_4027

DSC_4028


DSC_4031

DSC_4033


DSC_4036

DSC_4039

DSC_4040


DSC_4041


Budget:
I know I have never mentioned our budget for the kitchen remodel.  To be honest we had a number in our heads that we didn't want to go over ($10,000), but we really wanted to keep it as low as we could.  I think we might have been a tad bit optimistic. : ) Since the project was spread out over a long period of time (8 months),  it was easier for us to pay for things as we went along too. We have been saving for this remodel for several years now though.  We didn't borrow any money or create any debt doing the remodel.  Here's a breakdown of what we spent on the major stuff:

Contractor: $3786 (We had him for 2 weeks)
Caesarstone Countertops: $2100
Butcherblock Countertop: $320
Backsplash: $675
Oven, Dishwasher, and Microwave: $1798.20
Hood and Cabinet Hardware: $560.90
Flooring: $1700 (We bought enough for the kitchen and adjoining room)
Sink and Faucet: $546.91
Coffee Maker and Toaster Oven: $160
Track Lighting: $236

Total:  $11,883.01

As you can see we went over budget and this list isn't even including all of those little things that add up really quickly like wood, paint, and waterlox.   So we probably spent more like $13,000 total if I had to guess.  Considering we completely gutted our kitchen, I don't think that is too bad. 

Wondering where we got something?  See my source list below.

Source List:
Countertops:  Caesarstone in Pebble honed (We used Granite Direct in Nashville)
Butcherblock Countertop: Cabinets To Go
Marble Tile Backsplash:  The Tile Shop
36 inch Range Hood: Overstock
Frigidaire 30" Wall Oven: AJ Madison
Frigidaire Microwave: AJ Madison
Frigidaire Dishwasher: AJ Madison
Swiftlock Flooring in Chestnut Hickory: Lowes
Cup Cabinet Pulls : Overstock
Cabinet Knobs: Overstock
Kraus 30 inch Farmhouse Apron Sink: Amazon 
Kraus Single Lever Faucet:  Amazon
Red Cuisinart Coffee Maker: Amazon
Cuisinart Toaster Oven: Amazon
Utensil Holder, Fruit Bowl, Rugs and Dishtowels: Target
Track Lighting: Lowes
Wall Paint- Behr's Jamaica Bay: Home Depot
Cabinet and Trim Paint- Alabaster :Sherwin Williams

Ceiling tile mirror: Made by my dad.

Island: My husband made the island based on Ana White's plans.  The top is a salvaged piece of mahagony from my grandparent's house.  He did not stain it at all, so that is the natural color of the wood.  I love how it turned out.

Bar stools:  We already had the bar stools. I plan on recovering them using this fabric.  I used the same type of fabric when I recovered my chairs and they have held up great.

Refrigerator:  We kept our existing fridge. 
Cooktop:  We kept our existing cooktop.  We hope to replace it at some point.

Cabinets:  My husband built all the cabinets along the refrigerator wall.  We were able to keep our existing pantry and the drawers underneath.  Our contractor built all the cabinets on the sink side of the kitchen.  He also made all of the doors.  My husband made all the drawer fronts and installed all the hardware.  I don't have an exact amount, but I would say that we spent around $3000 for all of the cabinets.  So we saved lots of money making them ourselves. 

I just want to say thank you to everyone that provided me with moral support over the last several months.  Your sweet comments really kept me sane on many, many occasions. 

You can find all of my kitchen posts here.

Now we can move on to the next room.

Chic on a Shoestring Decorating


LinkWithin

Related Posts with Thumbnails