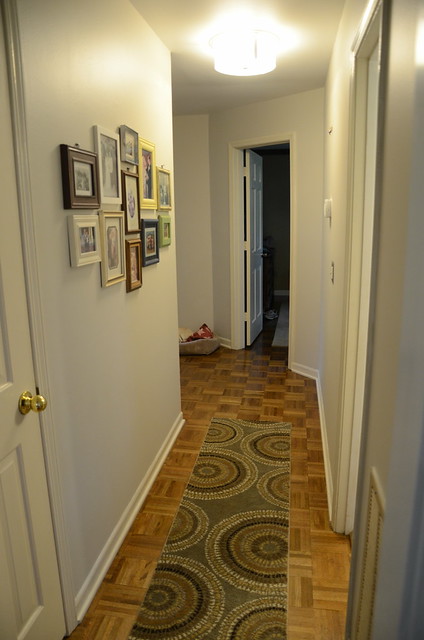
We are slowly making our way through the house with new fresh paint. The latest area we tackled was our hallway. I thought I would show you how we hung up our photos in a few easy steps.
The first thing you are going to want to do is grab some ugly wrapping paper that you will probably never use. Mine happened to be lined, which is even better.
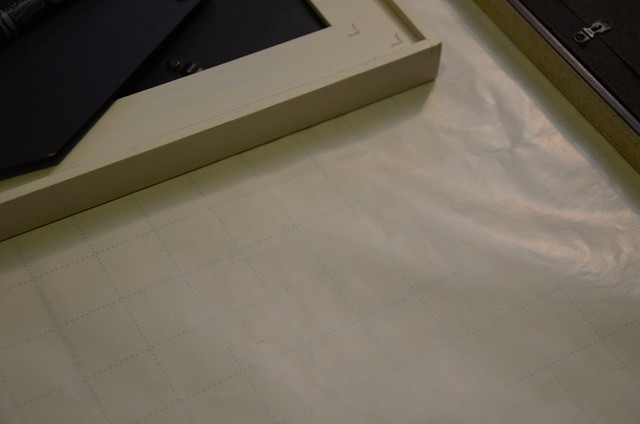
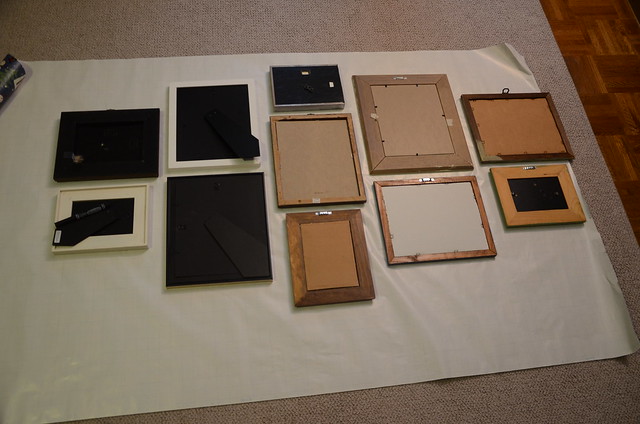
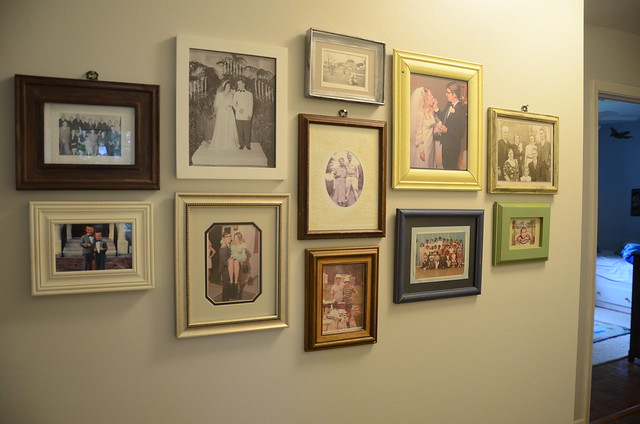
Lay out your frames how you would like for them to be on the wall. Then flip them over.

Lay out your frames how you would like for them to be on the wall. Then flip them over.
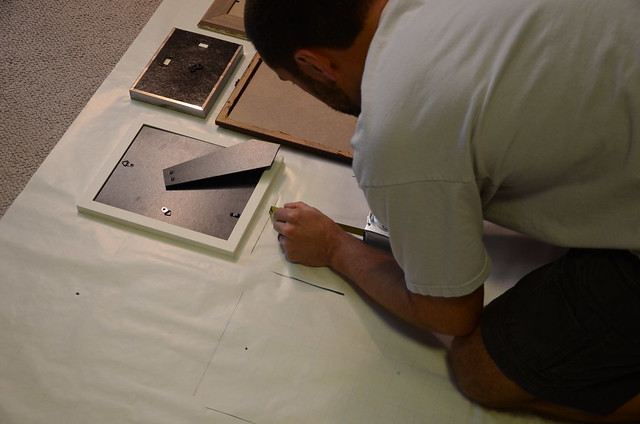
Take a photo of the frames just in case you forget the correct order. Then trace each of the frames. You will need to measure to see where the nail will need to go for each one. Make sure to mark where the nail hole will need to go on the wrapping paper.
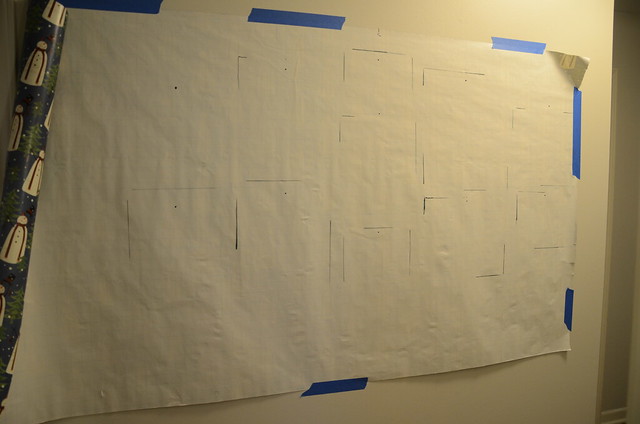
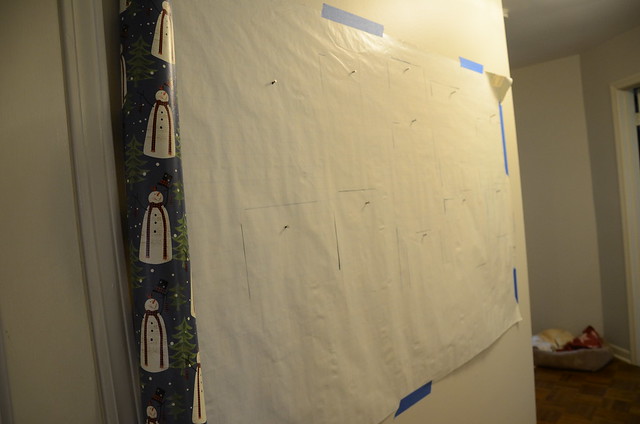
Once you are finished measure to make sure you know where you want your gallery wall to be. We measured to make sure it was centered on this wall. Then tape it to the wall using painter's tape.
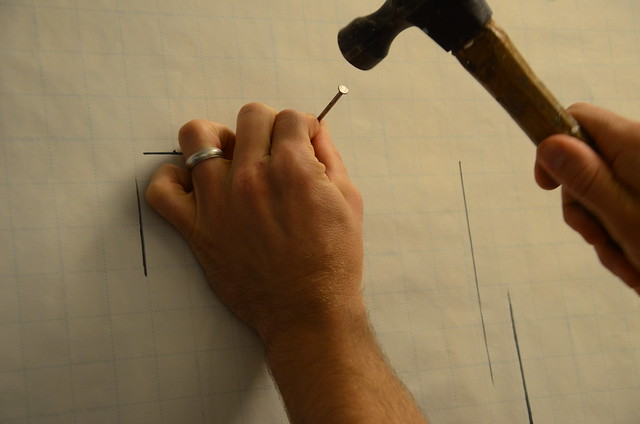
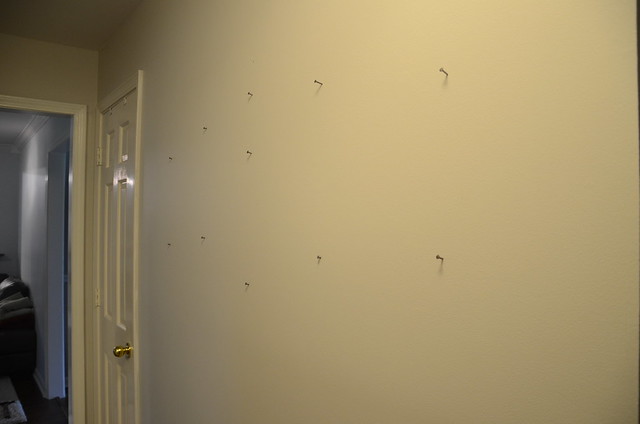
Put a nail in each of the spots you marked on the wrapping paper.

