Pages

Tuesday, November 1, 2011

Super Easy Reusable Snack Bag Tutorial

Snack Bag Tutorial

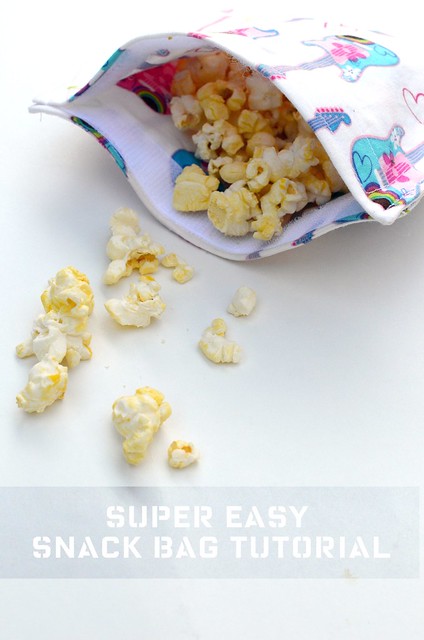
My snack bag tutorial shows you how to make a reusuable snack bag using one piece of fabric. 

Here's what you will need:
scrap fabric- 6.5" x 28 inches or 26" x 7" (depending on what size scrap you have)
velcro
sewing machine

Here is the piece that is 6.5" x 28"
DSC_1747 

This piece is 7" x 26"
DSC_1813

Once you have your piece cut out, fold it in half with right sides facing.
DSC_1748 

DSC_1815 

Sew around the edges leaving a hole for turning.
DSC_1749 

Turn right side out.  Topstitch the side to close the opening.
DSC_1751 

Cut a piece of velcro 6 inches long.  Place one side of the velcro at the top of one side and the other piece on the other side.  Like the photo below.  Pin and sew in place.

DSC_1752 

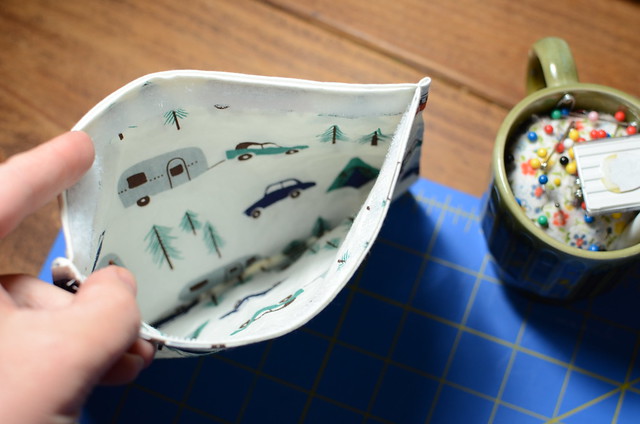
This is what it will look like if you use a 7" x 26" piece.

DSC_1817 

Place the velcro pieces together.

DSC_1754 

DSC_1818 

Then topstitch the sides and bottom.
DSC_1757 

That's it.  You are done. 

DSC_1761 

I have been using the bags to send snacks to school for the kids.  You can just turn them inside out to brush off the crumbs or throw it in the wash.  Now I just need to make more in various sizes

DSC_1863

If you decide to make a snack bag using my tutorial, make sure to add a photo to my flickr pool.




Photobucket

Monday, October 31, 2011

Happy Halloween

I just wanted to pop in and wish everyone a Happy Halloween.  We had a crazy weekend so I was not organized enough to have anything planned for today.  I did want to share these cute clementines that I packed in the kids lunches today.  Aren't they cute?  I thought it was a good way to add something healthy, but still fun to their lunch. 

Pumpkin Clementines

I hope everyone has a safe Halloween.  

Wednesday, October 26, 2011

Weekly Kitchen Update

Last week was all about making decisions.  We have been trying to come to a decision regarding the cabinets.  We were finally able to get several estimates.  The estimates ranged from $4600-$8000 for solid plywood cabinets.  We did lots of soul searching and decided we really did not want to spend that much money on cabinets.  We were not in love with any of the cabinets that we looked at.  So we decided to stick with what seems natural to us, trying to use as much of our existing cabinets as we can.  Mitch will build any new cabinets that we need. 

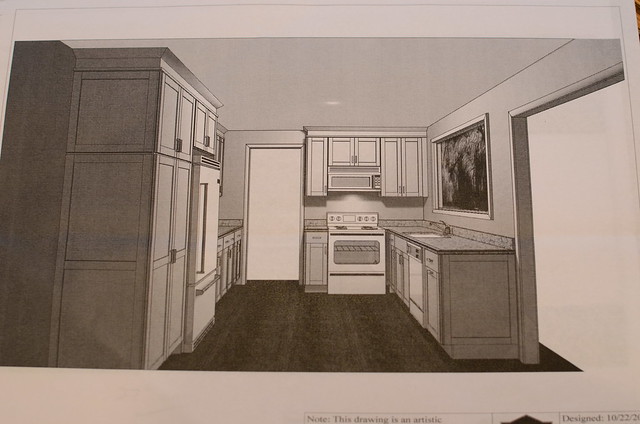
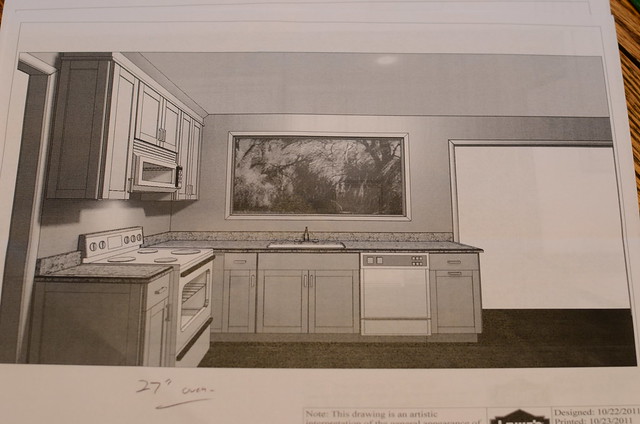
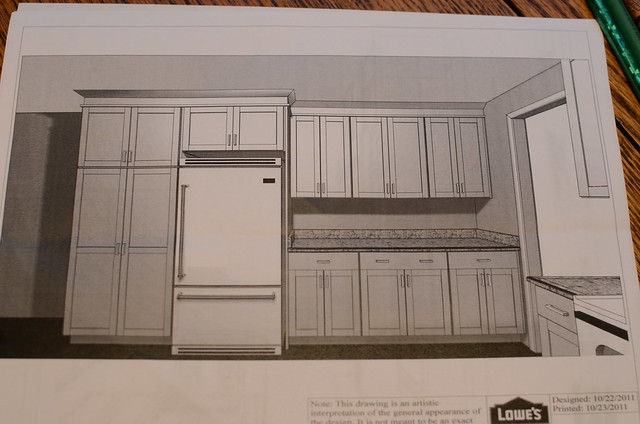
The one good thing about getting all of the estimates for the cabinets were these cool plans that we received. These really helped us visualize how the kitchen will (hopefully) look one day. 

DSC_1820
DSC_1822

Look at all the cabinet space we are going to gain by the fridge. We have decided that we are going to do butcherblock for the countertops on this section and probably granite for the section by the sink.
DSC_1824 

Mitch did manage to find a little bit of time on Sunday to start building out the recession for the fridge.

DSC_1792 

We moved the fridge to make sure it would fit in the opening.  It fit!! 

DSC_1799

It is all ready for drywall.  We have a contractor coming this week to do some of the electrical work and drywall this area.   

DSC_1807 

While Mitch was working, I put a coat of primer on the riser.  It made me feel useful. : )

DSC_1806

Baseball season ended last night so that will free up some time for us.  No telling what we could accomplish if we actually had a full weekend to work on the kitchen. 

Tuesday, October 25, 2011

Coffee Cozies Continued

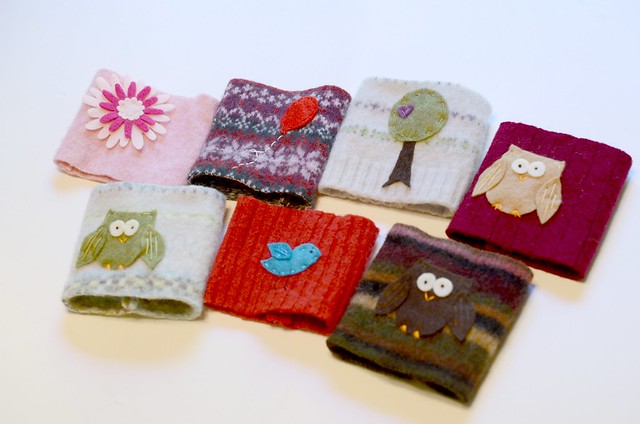
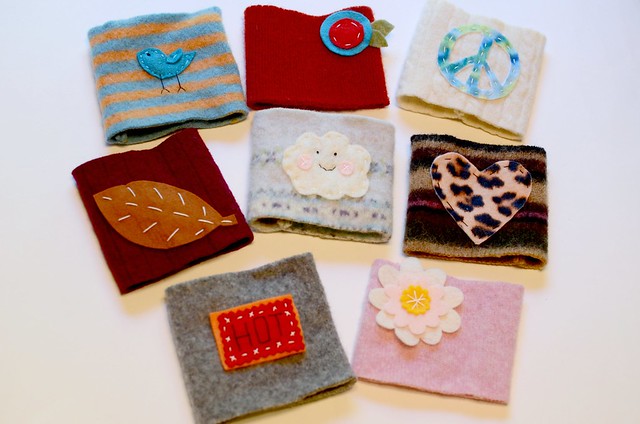
I finally finished my coffee cozy order.  Yikes, it only took me a month.  I was out of practice so it took me longer than I planned, but I am finished!!!   It was fun to be sewing again.  I feel like it has been forever.  I am itching to have a good sewing project, but with the kitchen remodel I need to stick to easy, fast projects.  I am working on some super easy snack bags.  I am hoping to have a tutorial up next week.

DSC_1745 

DSC_1739

You can find my coffee cozy tutorial here.

I will have an update on the kitchen tomorrow. 


Photobucket

Monday, October 24, 2011

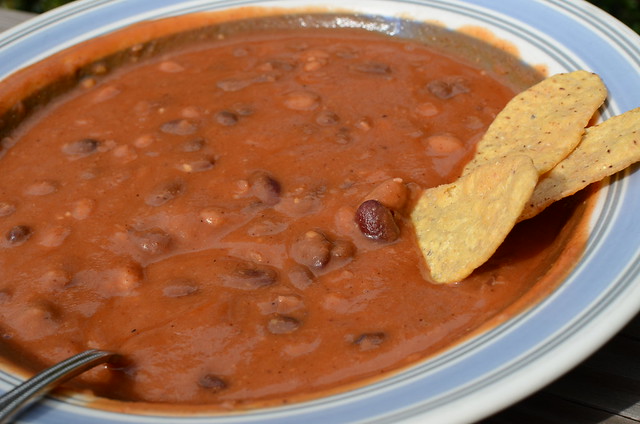
Vegetarian Chili Recipe

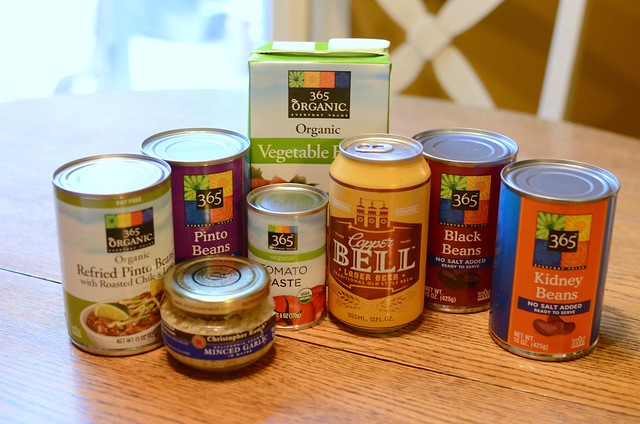
Vegetarian chili is a staple for me when the weather turns cool.  I make a big pot of it on Sunday, then I have lunch for the rest of the week.  I have tried many different recipes, but usually I end up dumping whatever I can find in the pantry into a pot and call it chili.  I made this combination a few weeks ago.  I liked it so much I made note of the ingredients I used so that I could make it again.  This is going to be my new go to vegetarian chili recipe. 
DSC_1778

Ingredients:
1 can of pinto beans
1 can of black beans
1 can of kidney beans
1 can of refried beans (I love the Whole Foods brand with Roasted Chile & Lime)
1 6 oz can of tomato paste
1 can or bottle of beer
2 cups of vegetable broth
1/2 teaspoon of minced garlic
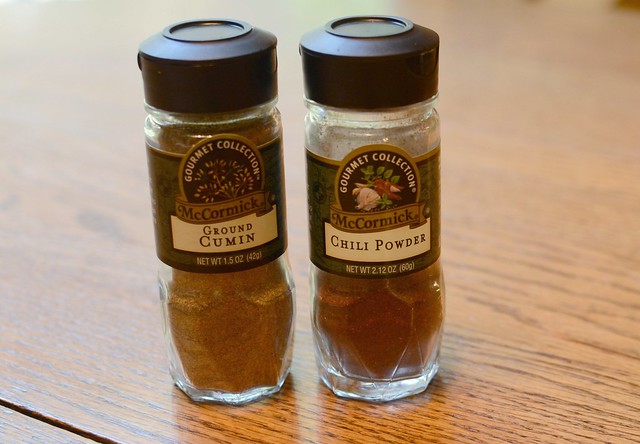
1 tablespoon chili powder
1 teaspoon cumin
1/2 a red pepper chopped (optional)
1 cup of frozen corn (optional)
salt and pepper to taste
DSC_1781

I forgot to photograph the spices with the other ingredients. 

Directions:
Heat a tablespoon of olive oil in a pot or dutch oven.  When the oil is hot add the garlic and cook for about 30 seconds.  Last time I made it I added half a red pepper.  I cooked it until it was tender.  Then add the rest of the ingredients.  Simmer for 30 minutes.  Serve with torilla chips.  Food Should Taste Good Sweet Potato chips are my favorite.  I also add some hot sauce to mine for a little kick. Avocado would be a nice addition too. 

DSC_1783

Enjoy!!

Friday, October 21, 2011

Tips for a Green Halloween

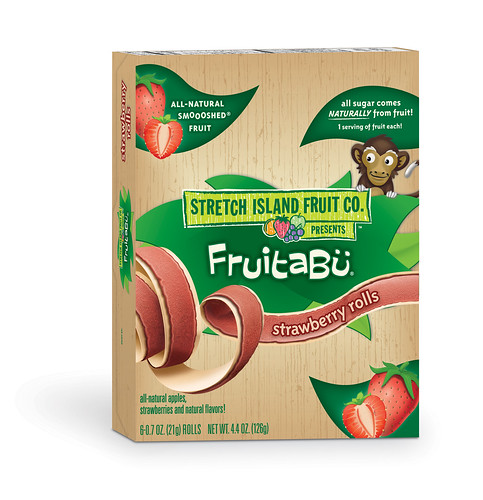
FruitaBu Fruit Rolls_Strawberry

With Halloween right around the corner, I thought I would revisit some tips for a Green Halloween. I wrote this post 2 years ago with some tips.  Greenhalloween.org also has tons of awesome information on their website.  I found these 10 tips, especially useful. 

Here are my tips:
1.  When choosing what to hand out to trick or treaters, think outside the box.  My kids love FruitaBu or fruit leather.   You could also hand out dried fuit, yogurt covered raisins, granola bars, or popcorn.  You don't have to hand out food.  Crayons, coins, stickers, and pretty rocks are all great options.

2. Make your own face paint.  This recipe is from Green Halloween too.
Ingredients:
  • 1 tsp cornstarch
  • 1.5 tsp all-natural diaper rash cream
  • 1-2 drops of natural/organic food coloring
  • .5-1 tsp of water (dependi ng on desired consistency)
Instructions:   In a small bowl, mix cornstarch, diaper cream, and food coloring.  If necessary, add       water to achieve desired constistency.

3. Save your candy wrappers.  Reuse the candy wrappers to make flowers for barrettes or presents.  These bracelets would be a great craft to do with the kids.  Lil Blue Boo also posted 10 things you can do with candy wrappers last week.

4. It is a little too late to do it this year, but consider Reverse Trick or Treating for next year.  This is a good way to educate people regarding Fair Trade practices.  It is not too late to hand out Fair Trade chocolate. Endangered Species makes Fair Trade chocolate that is perfect for trick or treating. 

What tips do you have for a Green Halloween?

Thursday, October 20, 2011

Fall Break- Atlanta, Ga.

We took a quick trip to Atlanta for Fall Break and to celebrate my niece's 5th birthday.  We started out really early Sunday morning. 
DSC_1589 

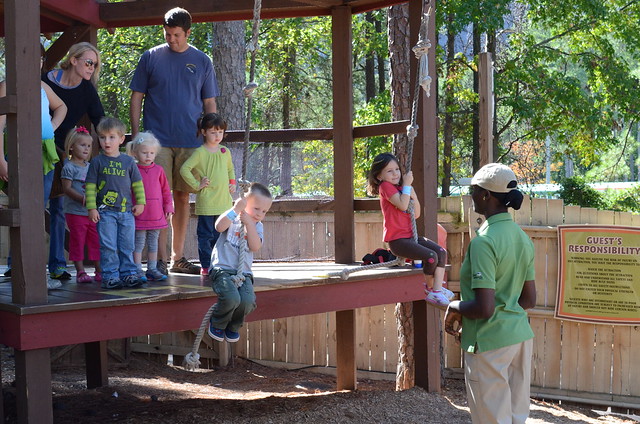
 We spent the day at Stone Mountain in Georgia.  The kids enjoyed the obstacle course and zipline.

DSC_1603 

DSC_1608 

The weather was perfect. 
DSC_1619 

Here's Stone Mountain.  We rode the sky ride to the top.
DSC_1625 

Hold on.  Don't fall off the mountain!!
DSC_1644 

DSC_1660 

There's Atlanta in the distance.
DSC_1663 

Here's the stone carving.
DSC_1688 

Crazy cousins having some fun.

DSC_1669 

We ended the trip with a relaxing train ride around the mountain.
DSC_1679 

DSC_1681 

The day ended with some very tired kids.

DSC_1690 

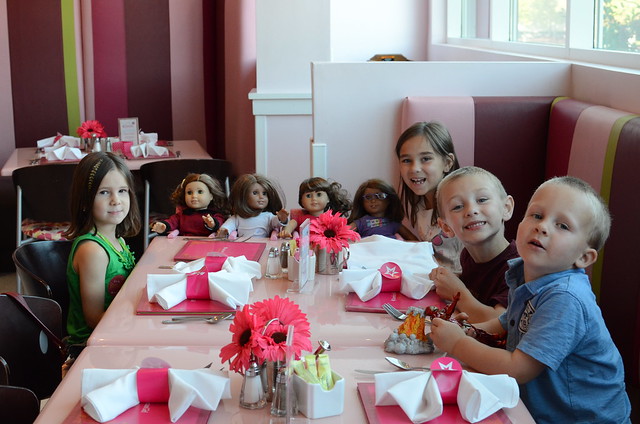
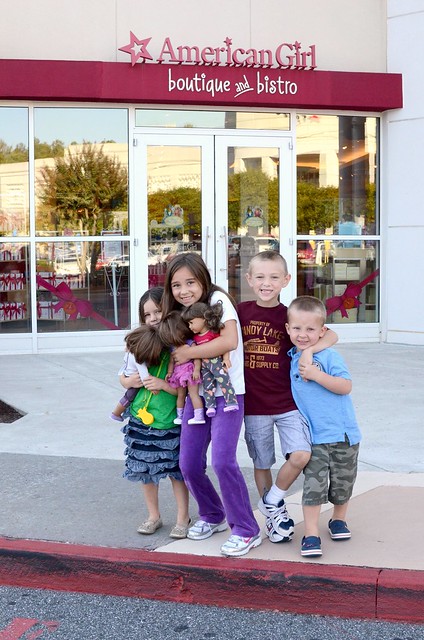
On Monday we headed to the American Girl doll store to celebrate Josie's birthday.

DSC_1693-edited 

DSC_1702 

Happy birthday Josie!!!
DSC_1704 


LinkWithin

Related Posts with Thumbnails