I really needed a new bag. So I decided to follow my
Messenger Bag tutorial and make a few modifications to meet my current needs. I have been toting my iPad around with me more and more, so I really wanted to have a pocket to store it in. I knew I wanted a flap with some sort of closure so that it would be protected and not fall out.
Here are the modifications that I made:
back pocket pieces are 14"x 9"
back pocket top flap pieces are 14" x 5"
round the edges the same way you do the flap pieces
you will assemble the pocket flap piece the same way as the main flap pieces
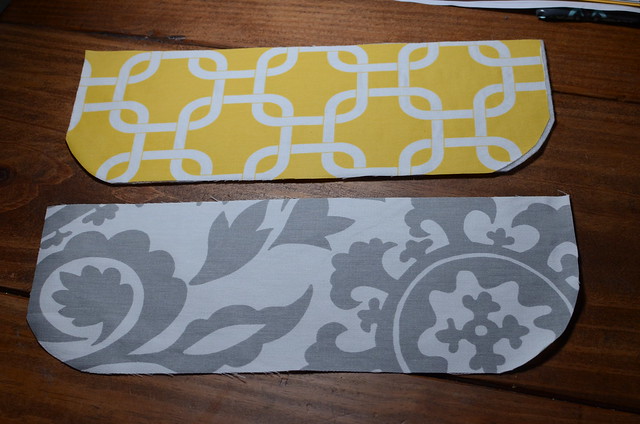
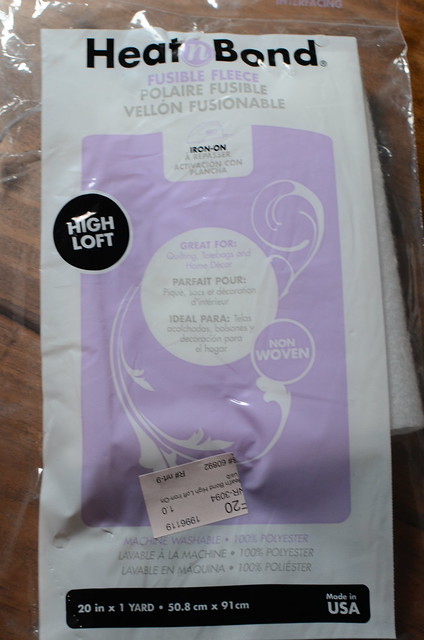
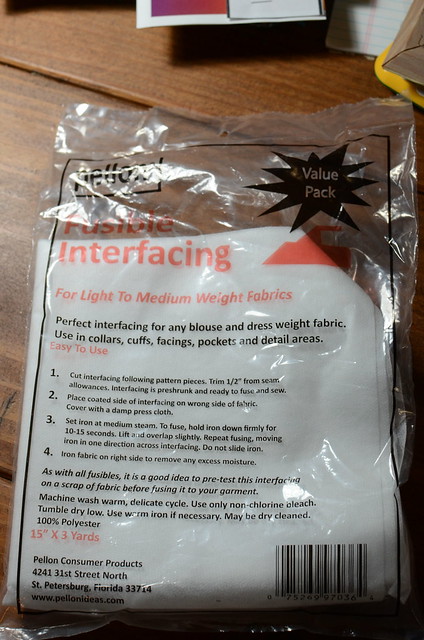
interface the lining pieces with fusible fleece high loft, also interface one side of the back pocket pieces
interface one side of the flap piece with lightweight interfacing
I did not interface the strap or inside pocket
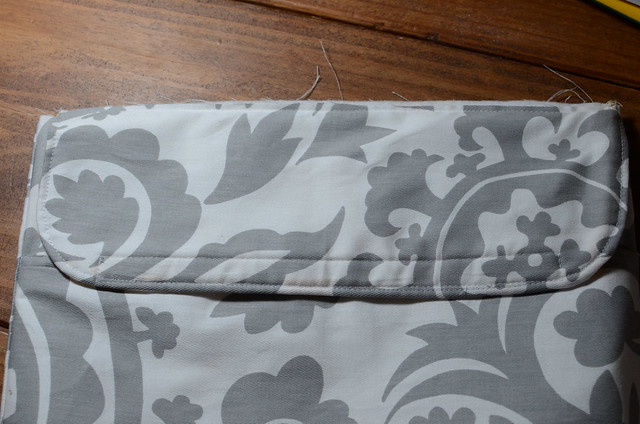
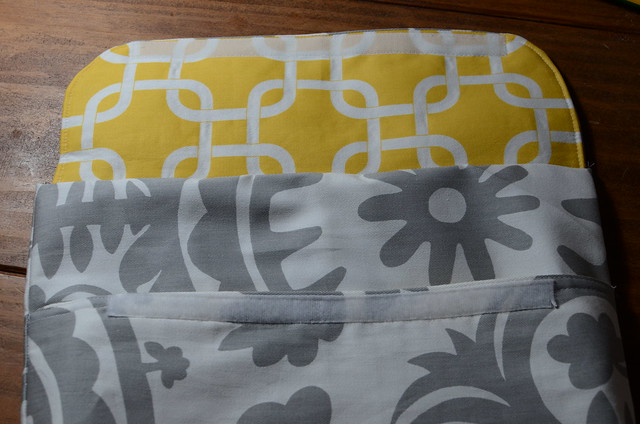
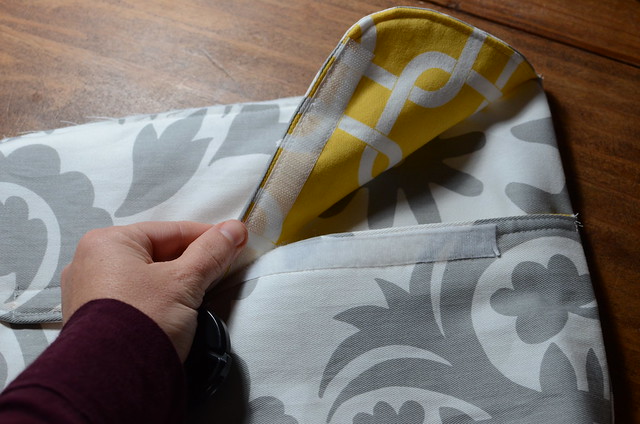
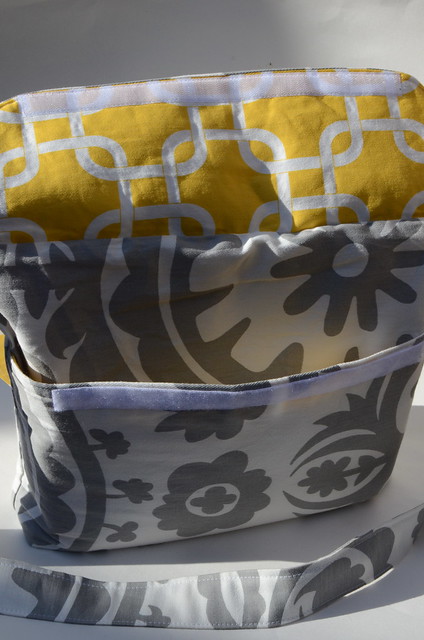
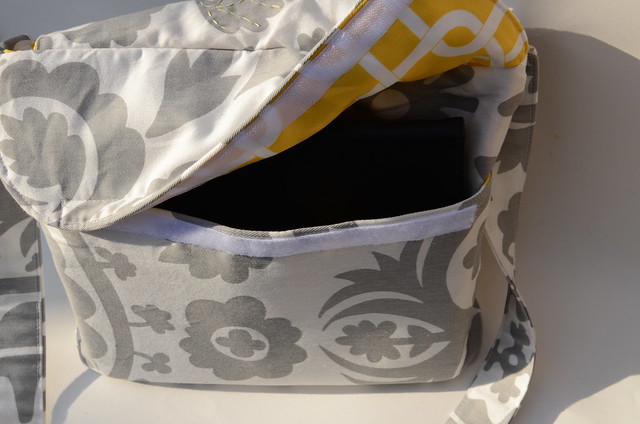
This is what my back main body piece looked like with the pocket and flap all assembled. I decided to use a velcro closure to make sure everything was secure. I added the velcro to the flap piece and the pocket piece before basting them to the main body piece.
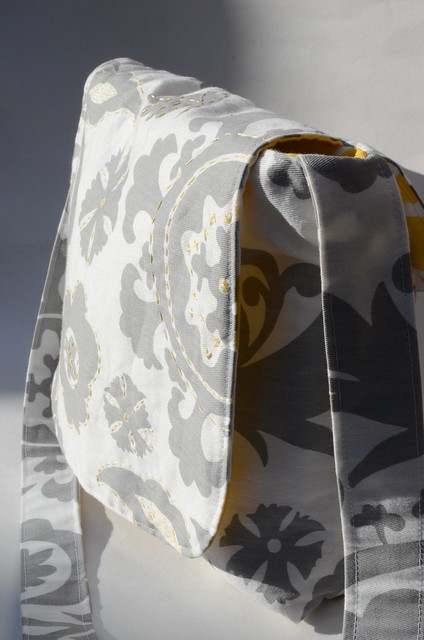
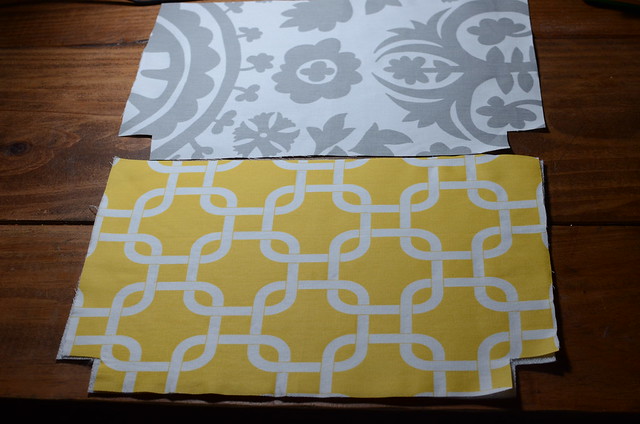
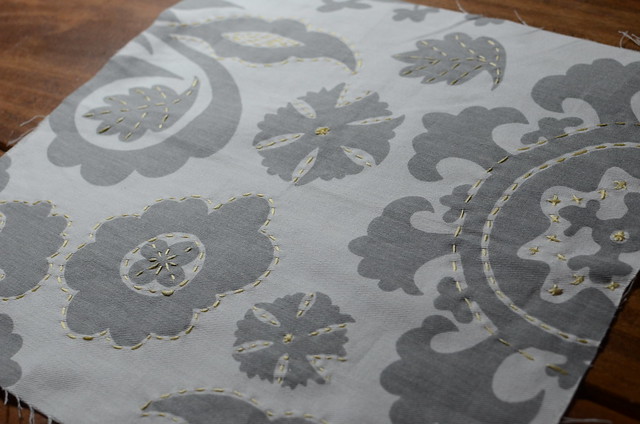
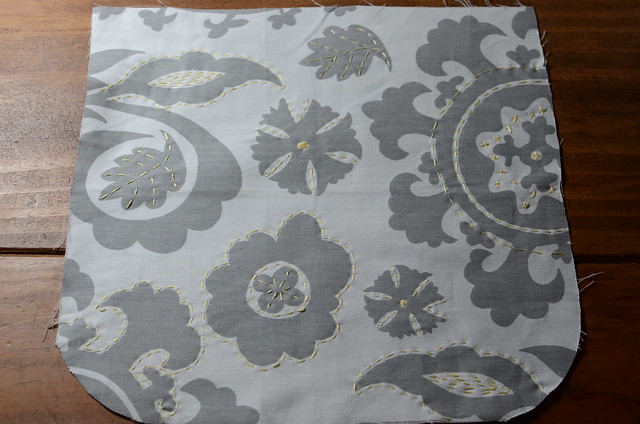
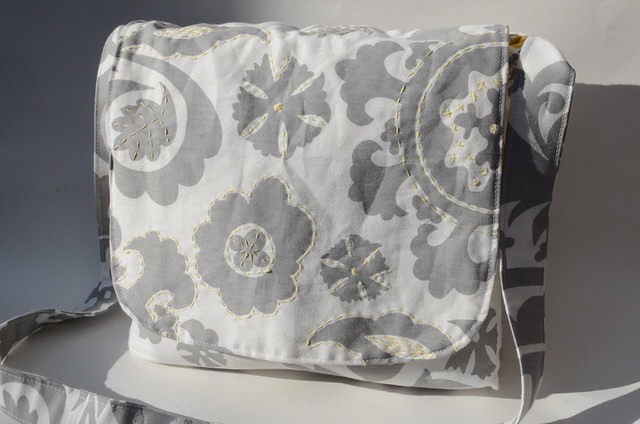
I decided to do a little hand embroidery on the front flap piece to bring in some of the yellow from the lining.
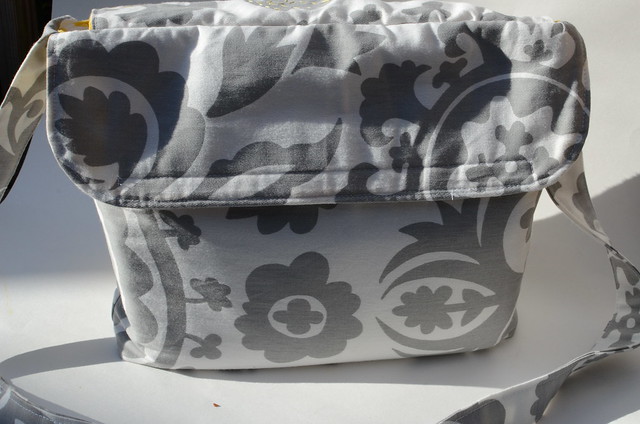
Here's some photos of the finished product.
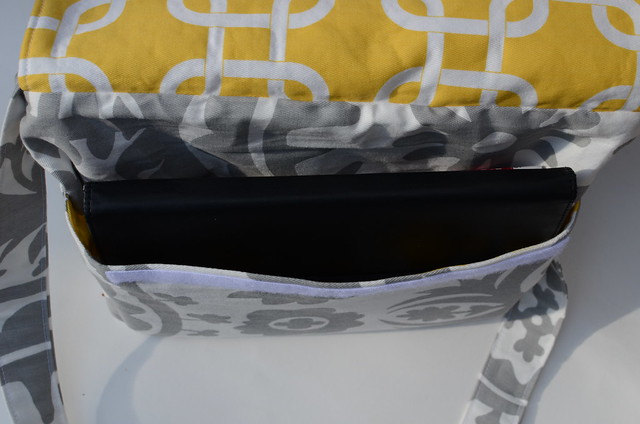
The iPad all nice and snug.
I like that you can't even tell it's in there.
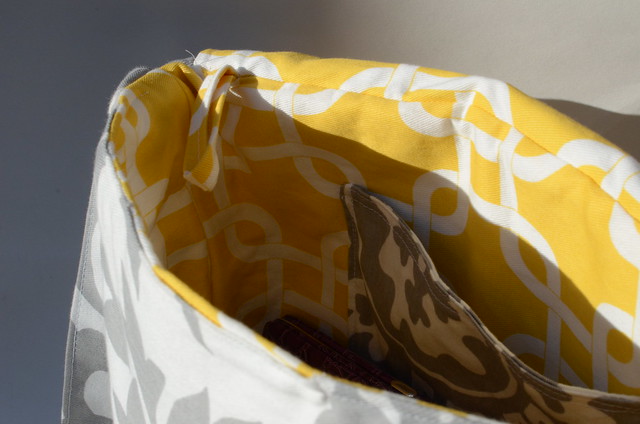
I also added a loop of fabric to clip my keys to so that they don't get lost in the bottom of my purse. I have been sticking my phone in the pocket.
I am so in love with my new purse. I would highly recommend interfacing your bag if you decide to make one. It adds so much more structure to the bag.
This version of the bag isn't made to be reversible.
Find the Reversible Messenger Bag tutorial
here.
Don't forget to add a photo to
my flickr pool if you decide to make one.