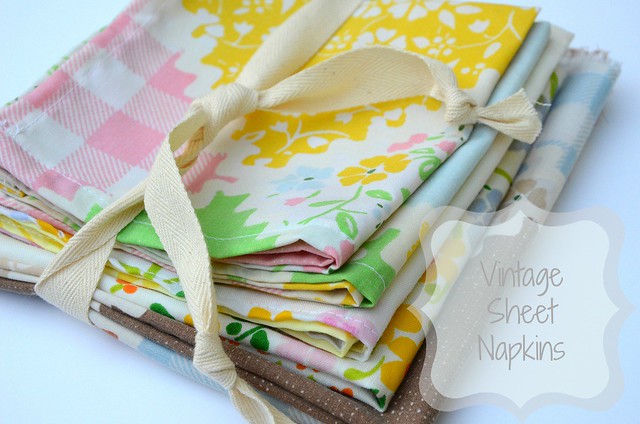
I have been using reusable napkins for many years now. It was one of the first and probably easiest changes I made when "going green" over 4 years ago. Not only does it help the environment, it also saves me money. I can't even remember the last time I purchased paper napkins or paper towels.
I have several different types of napkins that I have collected over the years. I have several smaller flannel napkins, which after 4 years of constant use are looking more like rags. Then I have several larger cloth napkins. We all tend to grab the larger cloth napkins first. These have also held up better over time. In an attempt to replace my old flannel napkins, I decided to dip into my stash of vintage sheets and pillowcases to make some napkins. I don't have to spend any money and I get to put the vintage sheets to good use. Can't beat that.
I made three different versions for some variety. I made all of my napkins between 12-14 inches square. When using pillowcases, I found that I could get six 13 inch pieces cut from one pillowcase.
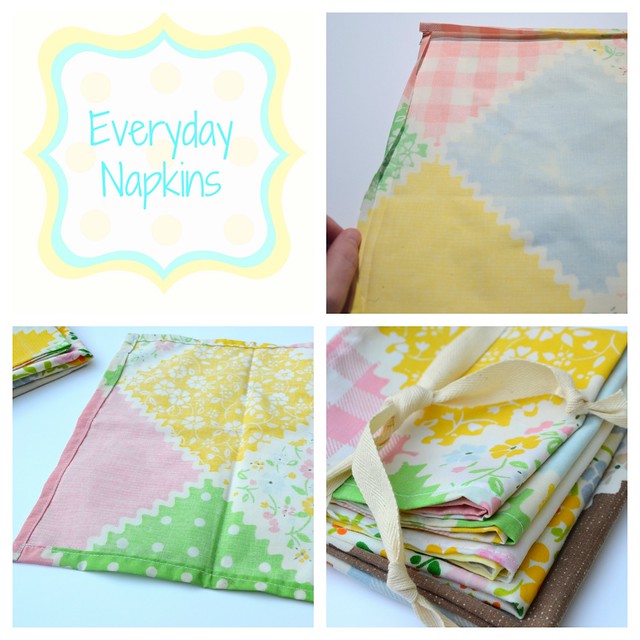
The Everyday Napkins are probably my favorite. They are made from a single piece of fabric with a hemmed edge. You can choose a larger napkin (18 inches square), a medium size napkin (13 inches sqaure) or a smaller napkin (10 inches square). I made my napkins 13 inches square.
Here's what to do:
Here's what to do:
1. Cut fabric to desired size
2. Fold each side down 1/4 inch and iron. The fold again and iron.
3. Sew your ironed edges down. You are done!!
3. Sew your ironed edges down. You are done!!
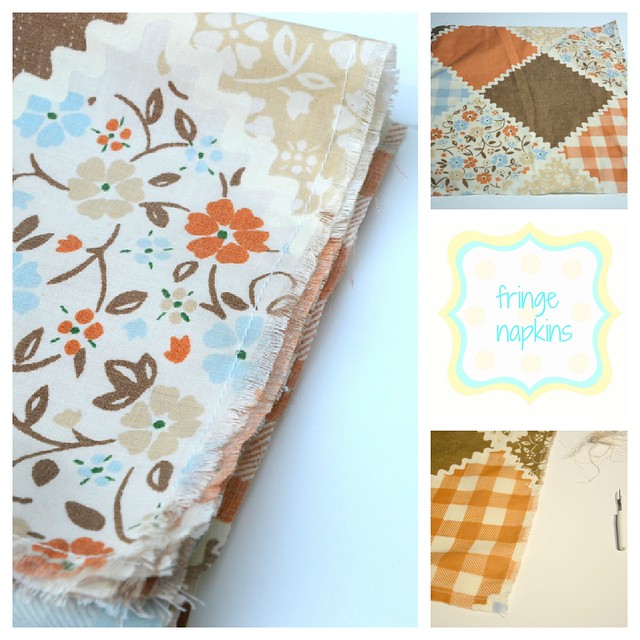
The Fringe Napkins require less sewing and ironing, but the unraveling does take awhile. These can easily be no sew napkins for those that do not want to pull out the sewing machine.
Here's what you do:
1. Cut fabric to desired size.
2. Stitch around all of the edges. This helped me to know how far to unravel (This step is optional)
3. Start unraveling the edges.
4. Stop unraveling when all the edges are the same length.
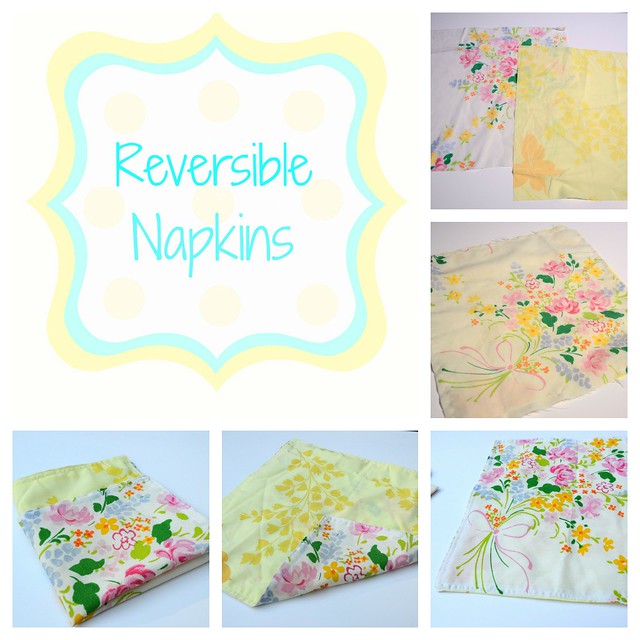
The Reversible napkins are the easiest to make in my opinion. I used two thinner fabrics that I thought would be too thin on their own, but just right when sewn together.
Here's what to do:
1. Cut 2 pieces of fabric to desired size.
2. With right sides together, sew along all edges leaving a 3 inch gap for turning.
3. Turn the fabric right side out through the gap.
4. Iron the napkin flat making sure the unsewn edge is tucked in neatly and even with the other edges.
5. Topstitch around the napkin. I did two lines of stitching because I liked the way it looked.
So now that you know how easy it is to make your own napkins, give it a try. Little changes can make a big difference.


3 comments:
Awesome post! My husband & I are hosting Thanksgiving this year & I've been trying to figure out a creative napkin solution! Thanks so much!
i've been meaning to make some napkins for a long time, now. maybe this is the push i need...seeing all of your sweet napkins. i love the vintage fabrics, too!
zzzzz2018.6.27
canada goose outlet
super dry
snapbacks wholesale
jordan shoes
golden goose
true religion outlet store
coach outlet online
mulberry handbags
canada goose outlet
oakley sunglasses wholesale
Post a Comment